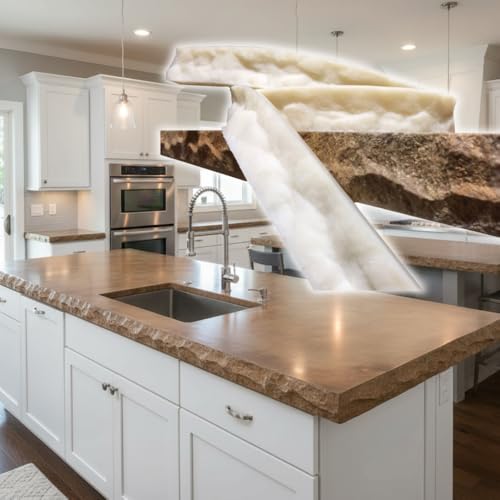
Why Build a Concrete Coffee Table? Concrete offers unmatched durability, a modern aesthetic, and a unique industrial feel that complements various styles, from industrial to minimalist and even rustic spaces. This DIY project is surprisingly accessible and allows you to customize size, shape, and finish.
Your Step-by-Step Guide to a Concrete Coffee Table
Building a concrete top coffee table is a rewarding DIY project that yields a stunning piece of furniture. Whether you're an experienced maker or a motivated beginner, this guide will walk you through each stage, from planning to the final seal. Let’s transform a simple idea into a durable, modern centerpiece for your living room.
1. Design & Planning: The Foundation of Your Project
Before mixing any concrete, careful planning is essential. Consider the overall size and shape of your coffee table. Measure your space and think about the proportion relative to your sofa. A standard height is around 16–18 inches, but you can adjust to your preference. For a classic look, a rectangular shape is timeless and practical. Sketch your design, including the thickness of the concrete top (typically 1.5–2 inches) and the base or legs you plan to use. This is also the time to decide on the final finish—will it be smooth and polished, or will you expose some aggregate for a more textured look?
2. Materials & Tools: What You’ll Need
Gathering the right materials is crucial for a successful project. For the concrete top, you'll need a high-quality concrete mix designed for countertops or furniture (which contains finer aggregates for a smoother finish). You'll also need melamine boards for the mold, a release agent (like cooking spray or commercial form release), and rebar or wire mesh for reinforcement to prevent cracking. Essential tools include a drill with a mixing paddle, a trowel, a float, a sander (with various grits), and safety gear like gloves and a dust mask. For a robust and long-lasting base, consider a metal frame or sturdy wooden legs.
3. Building the Mold: The Key to Shape
The mold is your blueprint. Using melamine-coated particle board is ideal because the concrete won't stick to it. Cut the boards to your desired dimensions. For the sides, use screws to assemble a sturdy box, making sure the corners are sealed with silicone to prevent leaks. Apply a generous coat of release agent to all interior surfaces. For intricate shapes, you might consider our guide on square table designs or even a round table if you're up for a challenge. A well-built mold is the first step to a perfect concrete top.
4. Mixing & Pouring: The Art of Concrete
Mixing concrete is a science. Follow the manufacturer's instructions precisely. Aim for a consistency similar to thick peanut butter—it should hold its shape when you form a peak with a trowel. Pour the concrete into the mold in layers, ensuring it fills all corners. Tap the sides of the mold vigorously to release any trapped air bubbles. Smooth the surface with a trowel and then a float, working the material to achieve a uniform finish. This process creates the foundation for a robust table, much like the durability you find in a stone coffee table.
5. Curing & Demolding: Patience for Strength
Curing is the most critical, yet often overlooked, step. Concrete needs time to gain strength and prevent cracking. Cover the mold with plastic sheeting and keep it moist for at least 3–7 days. After the curing period, carefully unscrew the mold sides and gently lift the concrete top. It's important to demold with care to avoid chipping the edges. At this stage, the table is a blank canvas, ready for its final finish.
6. Finishing & Sealing: The Final Touch
Now for the transformation. Start by sanding the concrete top, beginning with coarse grit sandpaper and working your way up to a fine grit (e.g., 80, 120, 220) for a smooth, polished feel. If you desire a different texture, you can explore options like exposing the aggregate. Finally, apply a high-quality concrete sealer. This protects the surface from stains and gives it a beautiful sheen. This sealing process is essential for protecting your new tabletop from spills, much like you would with a glass table.
7. Attaching the Base: Completing Your Table
The final step is to attach your chosen base. You can use a pre-made metal base, sturdy wooden legs, or even hairpin legs. Depending on the design, you can use epoxy or heavy-duty construction adhesive to attach the base to the bottom of the concrete top. Ensure it's perfectly centered and level. Your concrete coffee table is now complete—a stunning piece that reflects your personal style. For more ideas on table bases, check out our guide on hairpin leg DIY projects.
Your DIY Journey Starts Here
A concrete top coffee table is more than just furniture—it's a statement piece that you built with your own hands. It's durable, customizable, and adds a unique touch to any living space. Whether you pair it with a modern or mid-century aesthetic, this project will be a rewarding experience and a conversation starter for years to come. Ready to start building? Let’s get to work.
Remember: Always prioritize safety. Wear protective gear and work in a well-ventilated area when mixing and grinding concrete.